
Would you like to learn some 3D printing tricks to help you improve the quality and performance of your prints? In this post, I'm going to share with you some tips I've learned throughout my experience with this technology, and I hope they prove useful to you. Here are the tricks I'm going to explain to you:
- How to properly level the print bed
- How to avoid unnecessary supports
- How to understand the limits of your printing nozzle
- How to orient the piece to optimize printing
- How to increase the contact surface with the base
- How to adjust the printing material temperature
- How to vary the printing speed according to the part's area
- How to leave tolerances for part assembly
- How to apply textures and reliefs to your prints
Let's explore each of these 3D printing tricks in more detail, but I might create a more precise guide for each of these tips in the future.
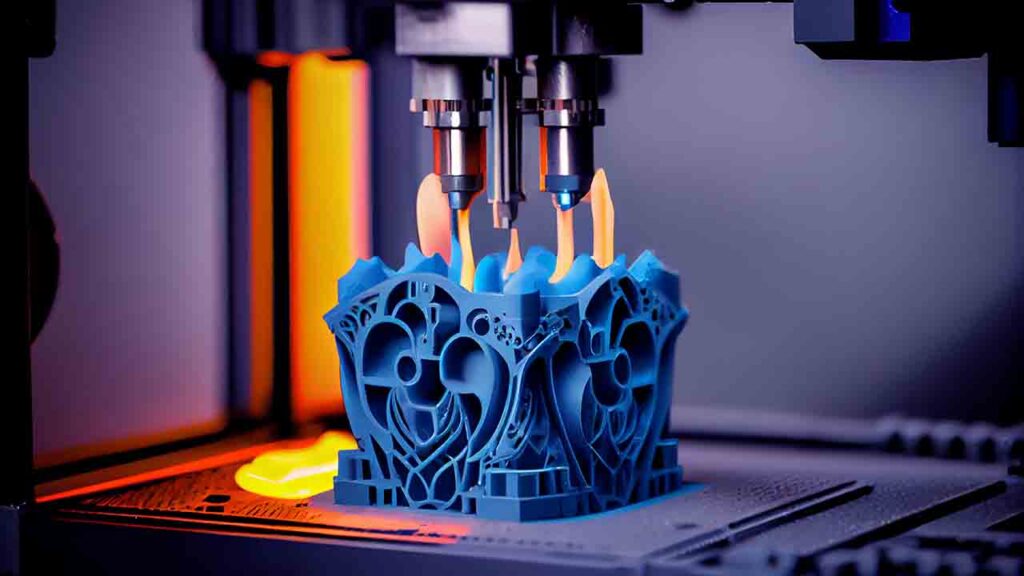
Here's a guide with the most common 3D printing tricks
Leveling the print bed correctly
Leveling the print bed correctly is one of the most important steps to achieve good adhesion and a uniform first layer. If the bed is not properly leveled, it can cause the print to detach, warp, or deform. To level the bed, you should follow the manufacturer's instructions for your 3D printer, but generally, it involves adjusting screws or nuts that regulate the distance between the nozzle and the bed. The ideal distance is one where the nozzle lightly touches the bed, without pressing it too hard or leaving too much space. Some 3D printers have an automatic leveling system, which makes this process easier.
Avoiding unnecessary supports
Supports are auxiliary structures generated to support parts of the print that are suspended in the air and cannot be printed without support. Supports are necessary when the angle of inclination of a part of the print exceeds 45 degrees, as beyond this angle, the material cannot support itself. However, supports have some disadvantages: they consume extra material and time, can leave marks or defects on the surface of the print, and need to be manually removed after printing. Therefore, it is advisable to avoid supports whenever possible by designing the print with angles less than 45 degrees or by rotating the print to change its orientation.
Understanding the limits of your printing nozzle
The printing nozzle is the component that extrudes the molten material onto the print bed, forming the layers of the print. The nozzle has a specific diameter, which is typically 0.4 mm, although other sizes are available. The diameter of the nozzle limits the minimum thickness that a layer or a wall of the print can have. For example, if you have a 0.4 mm nozzle, you cannot print a wall thinner than that value. Therefore, it is important to know the diameter of your nozzle and consider it when designing or scaling your prints to avoid printing issues.
Orienting the part to optimize printing
The orientation of the part is another factor that influences the quality and performance of 3D printing. Orientation refers to how we place the part on the print bed and can affect aspects such as the amount and type of supports needed, the mechanical strength of the part, surface finish, time, and material consumed, etc. Therefore, it is advisable to choose an orientation that minimizes supports, maximizes strength, improves finish, and reduces time and material usage. To achieve this, we can use programs such as Cura or PrusaSlicer, which allow us to rotate and position parts on the virtual print bed.
Increasing the contact surface with the base
Adhesion to the base is crucial to prevent the part from detaching or shifting during printing, which could ruin the job. To improve adhesion, we can use different methods, such as: using a suitable base for the material we are printing (glass, metal, plastic, etc.), applying some adhesive product to the base (lacquer, glue, tape, etc.), heating the base if the material requires it (PLA, ABS, etc.), or using a reinforcing layer called brim or skirt, which surrounds the contour of the part and increases the contact surface with the base. We can also design the part with a flat and wide base to facilitate its fixation.
Adjusting the temperature of the printing material
The temperature of the printing material is another parameter that we must adjust correctly to achieve good results. The appropriate temperature depends on the type of material we are using (PLA, ABS, PETG, etc.), as well as the brand and color of the material. A temperature that is too high can cause the material to drip or burn, while a temperature that is too low can result in poor melting or adhesion between layers. To find the optimal temperature, we can experiment with different values or consult the manufacturer's recommendations. An indication of the optimal temperature is when the material comes out of the nozzle without needing to be forced by the motor.
Varied printing speed according to the part's area
Printing speed refers to the rate at which the nozzle moves over the print bed, depositing the material. Printing speed affects the time it takes to print a part, but also its quality and strength. A speed that is too high can result in poor melting and adhesion of the material, while a speed that is too low can lead to excessive cooling or material buildup. Therefore, it is advisable to vary the printing speed according to the part's area being printed. For example, we can use a higher speed for the internal or non-visible parts of the print and a lower speed for the external or visible parts. We can also use a lower speed for the first layer to ensure its adherence to the base.
Leaving tolerances for part assembly
If we are going to print a part composed of multiple pieces that need to be assembled, we must consider tolerances. Tolerances refer to the small spaces or clearances left between the parts to allow for assembly and movement. If we do not leave sufficient tolerances, the parts may fit too tightly or get stuck. If we leave excessive tolerances, the parts may be too loose or misaligned. Tolerances depend on the type of joint we want to achieve (fixed, movable, detachable, etc.), as well as the material and the 3D printing process. A recommended value is to leave at least 0.25 mm of tolerance between the parts.
Applying textures and reliefs to your prints
One way to add a personal and original touch to your prints is by applying textures and reliefs. Textures and reliefs are patterns or designs that modify the surface of the print, creating visual and tactile effects. With 3D printing, we can create any type of texture or relief imaginable, leveraging the possibilities offered by this technology. For example, we can use the fuzzy skin mode in some slicing programs, which creates a rough and furry surface on the prints. Alternatively, we can model a texture in CAD directly onto our prints using tools like loft or extrude.
These are some 3D printing tricks that I hope you have enjoyed and will find useful for improving your projects. If you have any other trick you'd like to share with me and other readers, feel free to leave it in the comments. See you soon!
And if you want to support our work, here are our stores:
 English
  Spanish