
Can you imagine being able to propose to your partner with an engagement ring box inspired by their favorite childhood TV show? What if I told you that you can do it with origami and 3D printing? In this article, I'm going to tell you how I did it and how you can do it too.
The beginning of the project
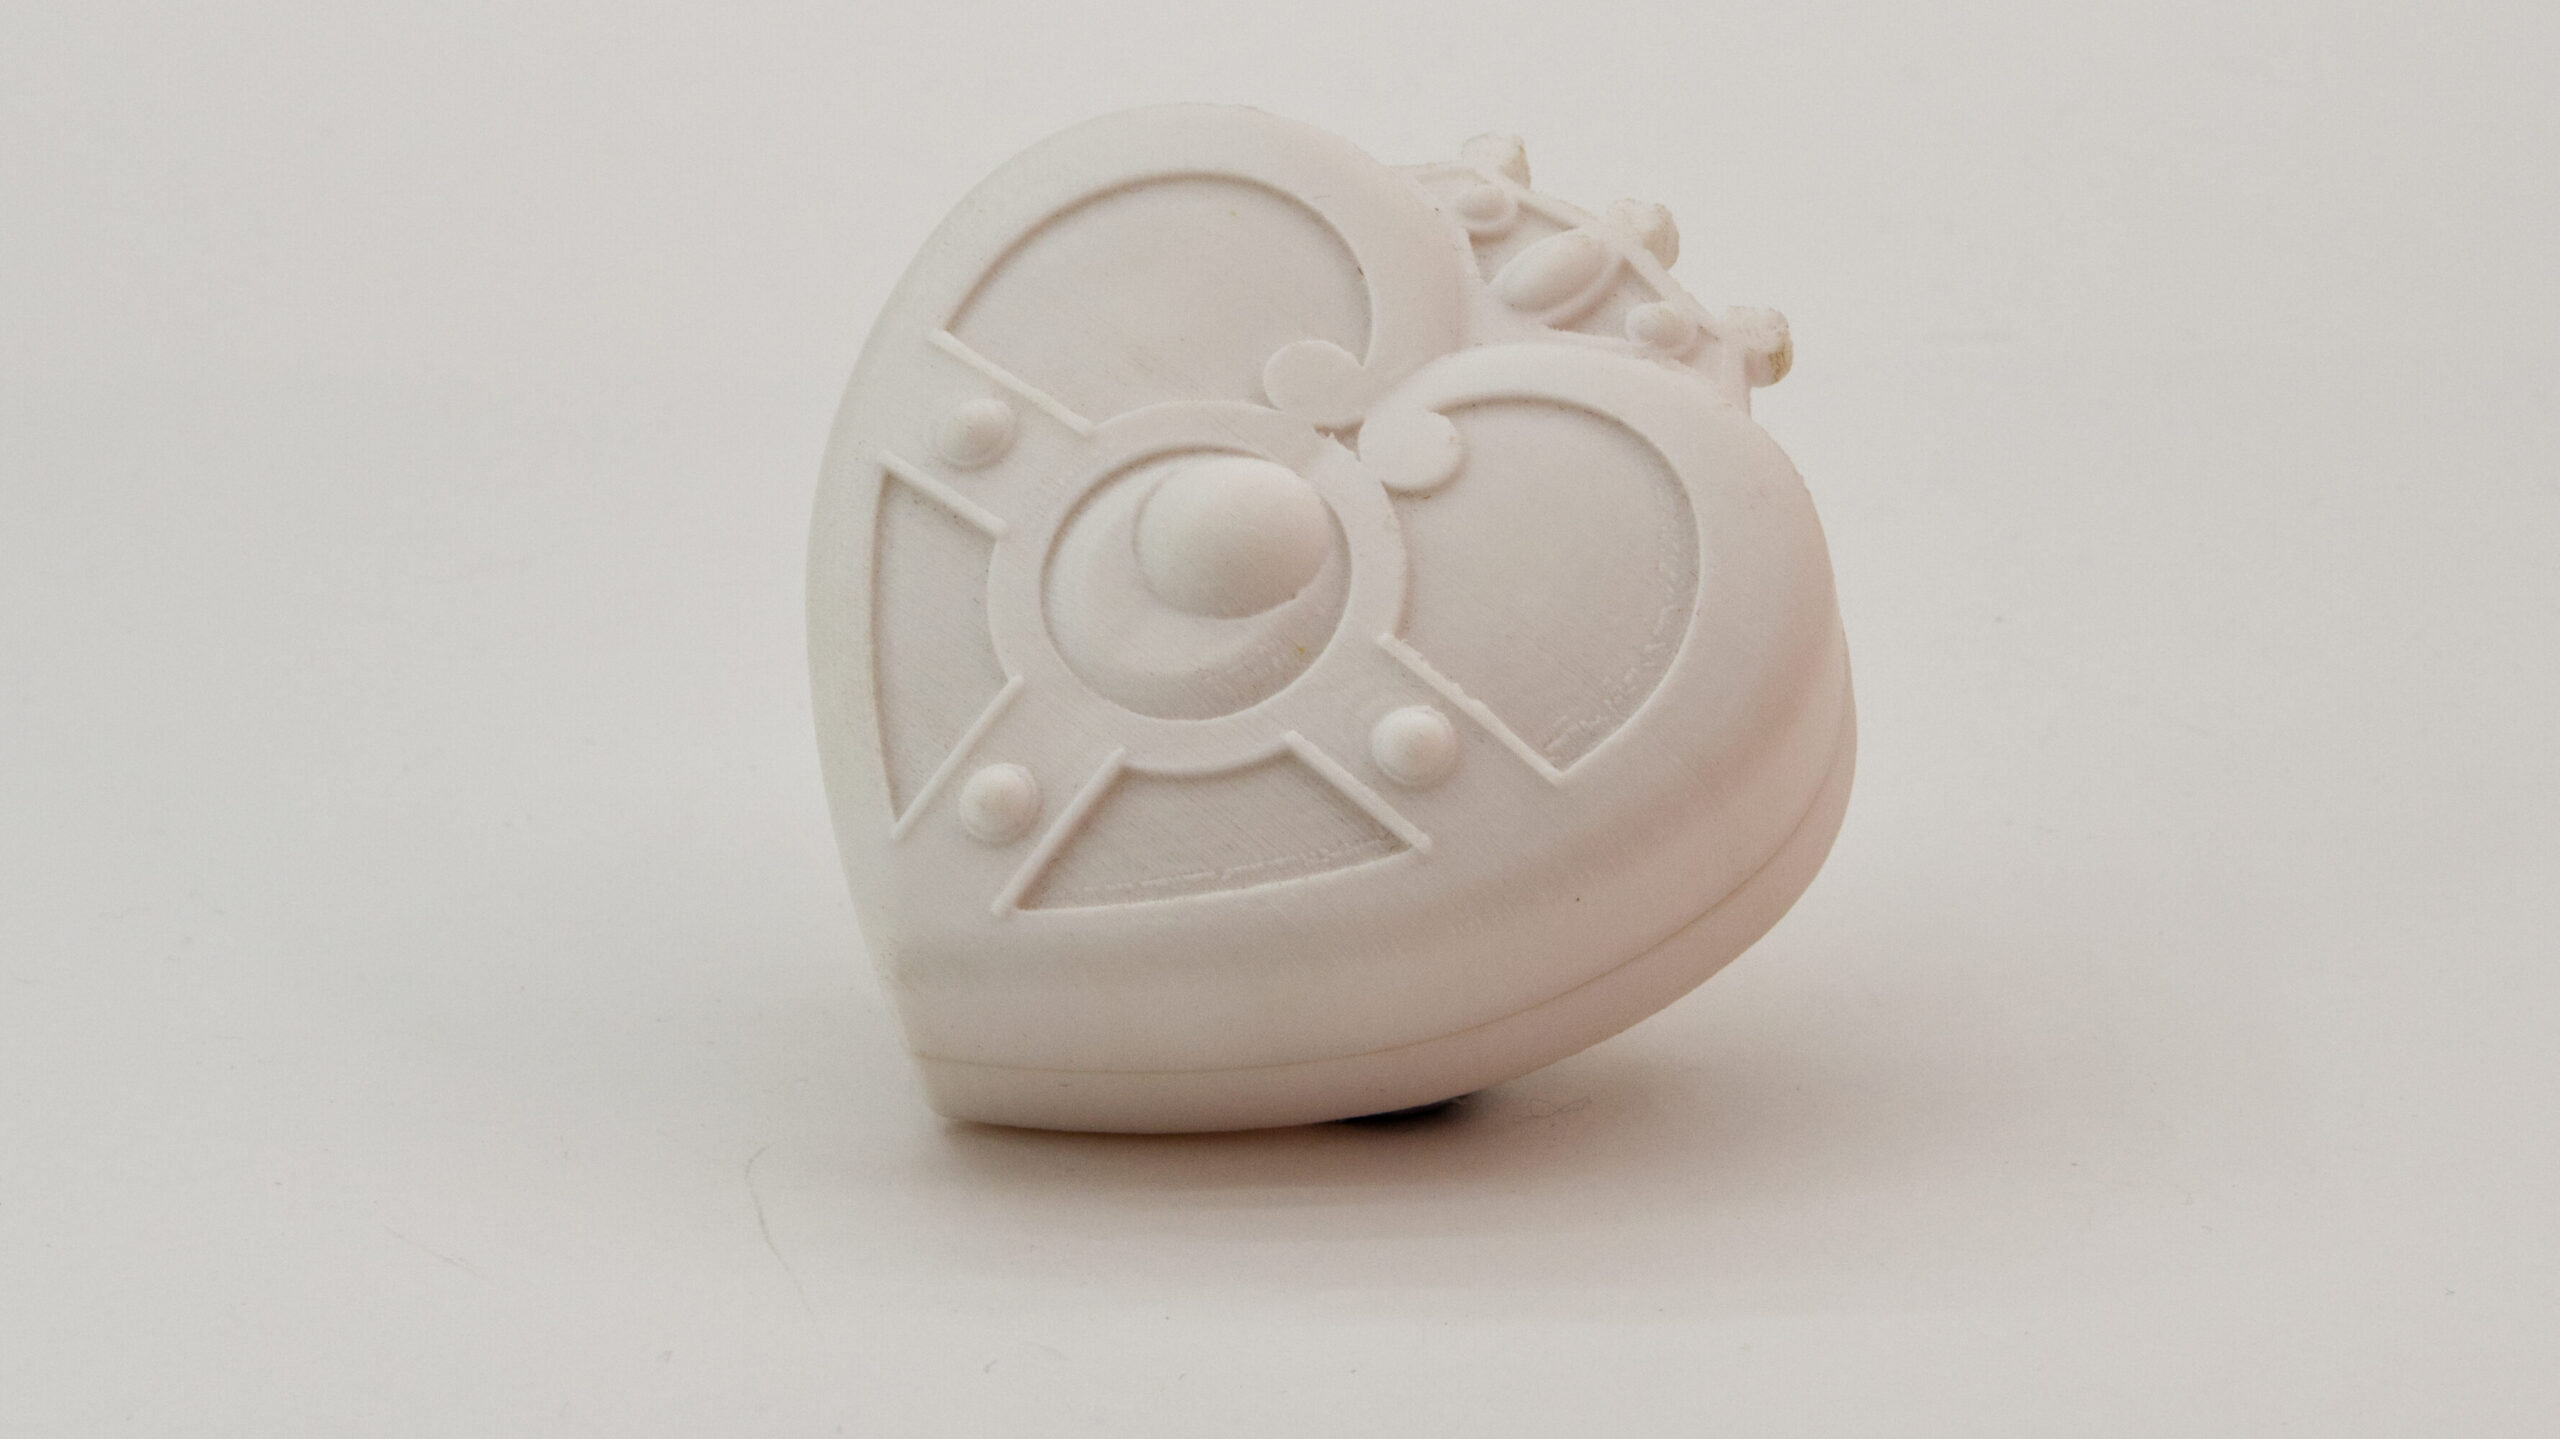
It all began when a good friend asked me to help him create a unique engagement ring box for his girlfriend, who is a huge Sailor Moon fan. He wanted something special that would reflect their love and her passion for the series. She already collected the famous Sailor Moon brooches, and it was the perfect opportunity to complete her collection with one missing brooch, specifically the "Cosmic Heart" brooch. So, I got to work and drew inspiration from origami, the Japanese art of paper folding, to design an internal mechanism that would make the box open and close with a very special rotating motion.
Origami, Sailor Moon, and 3D printing
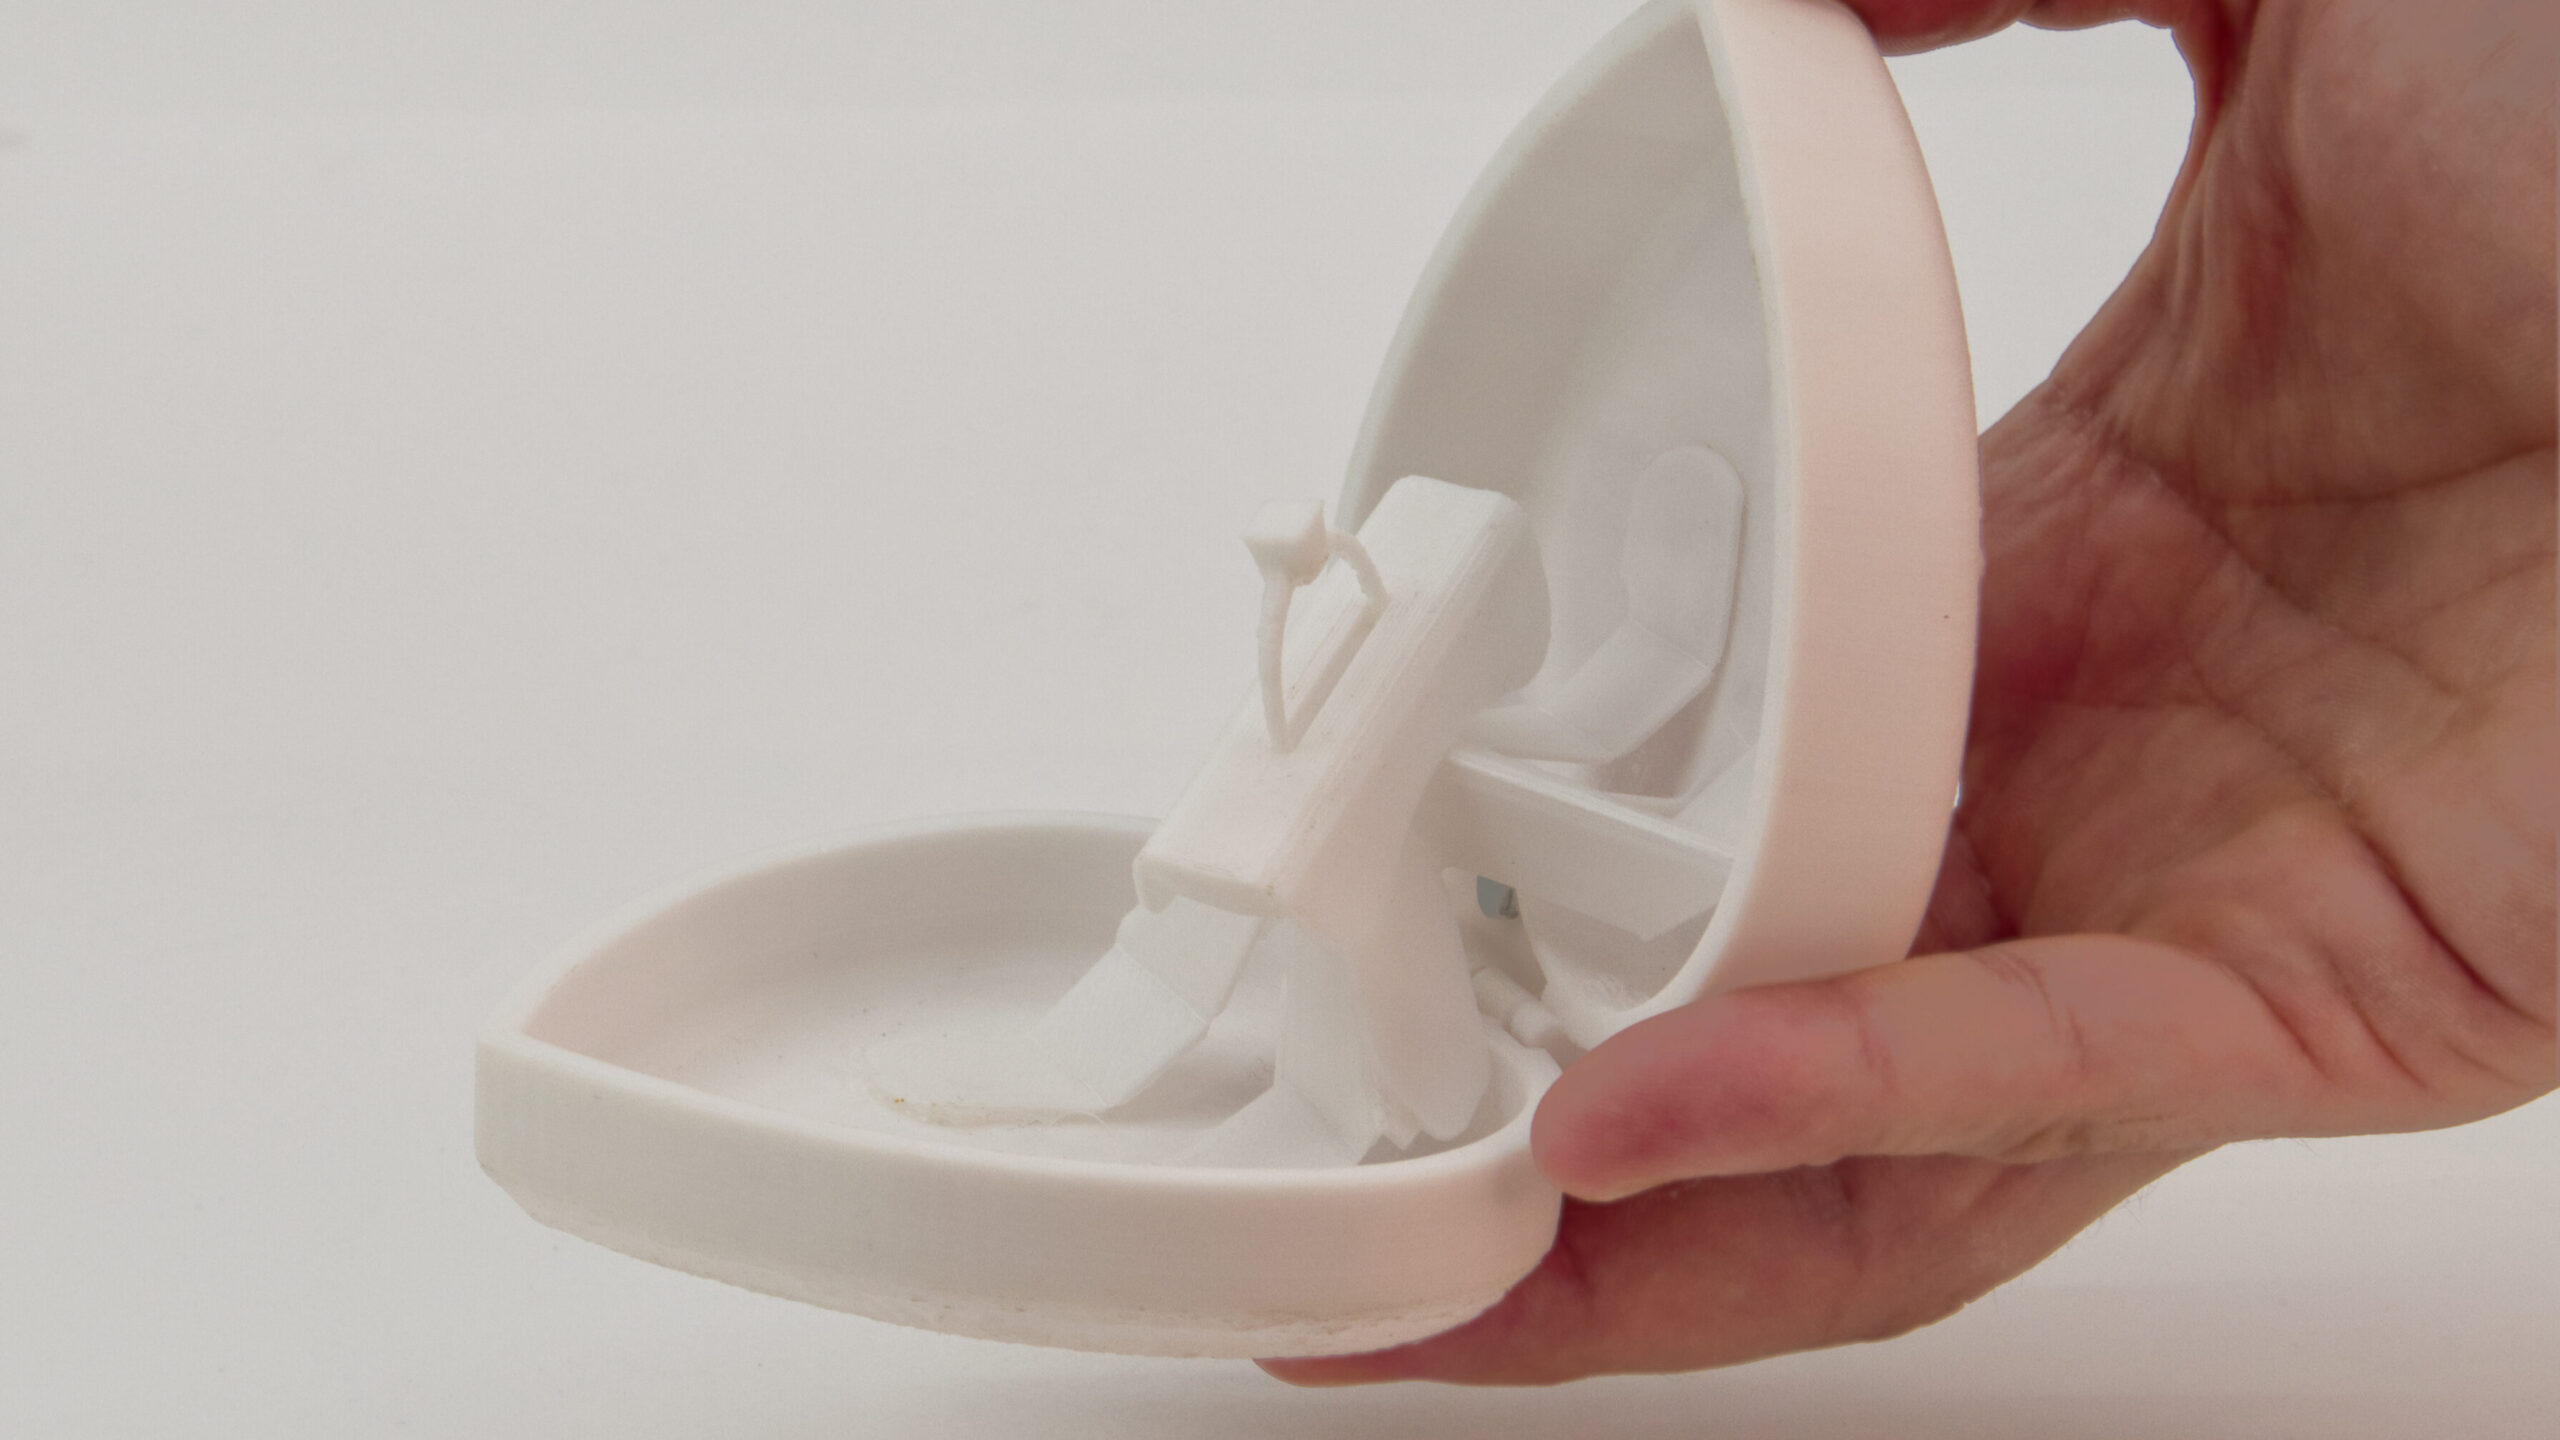
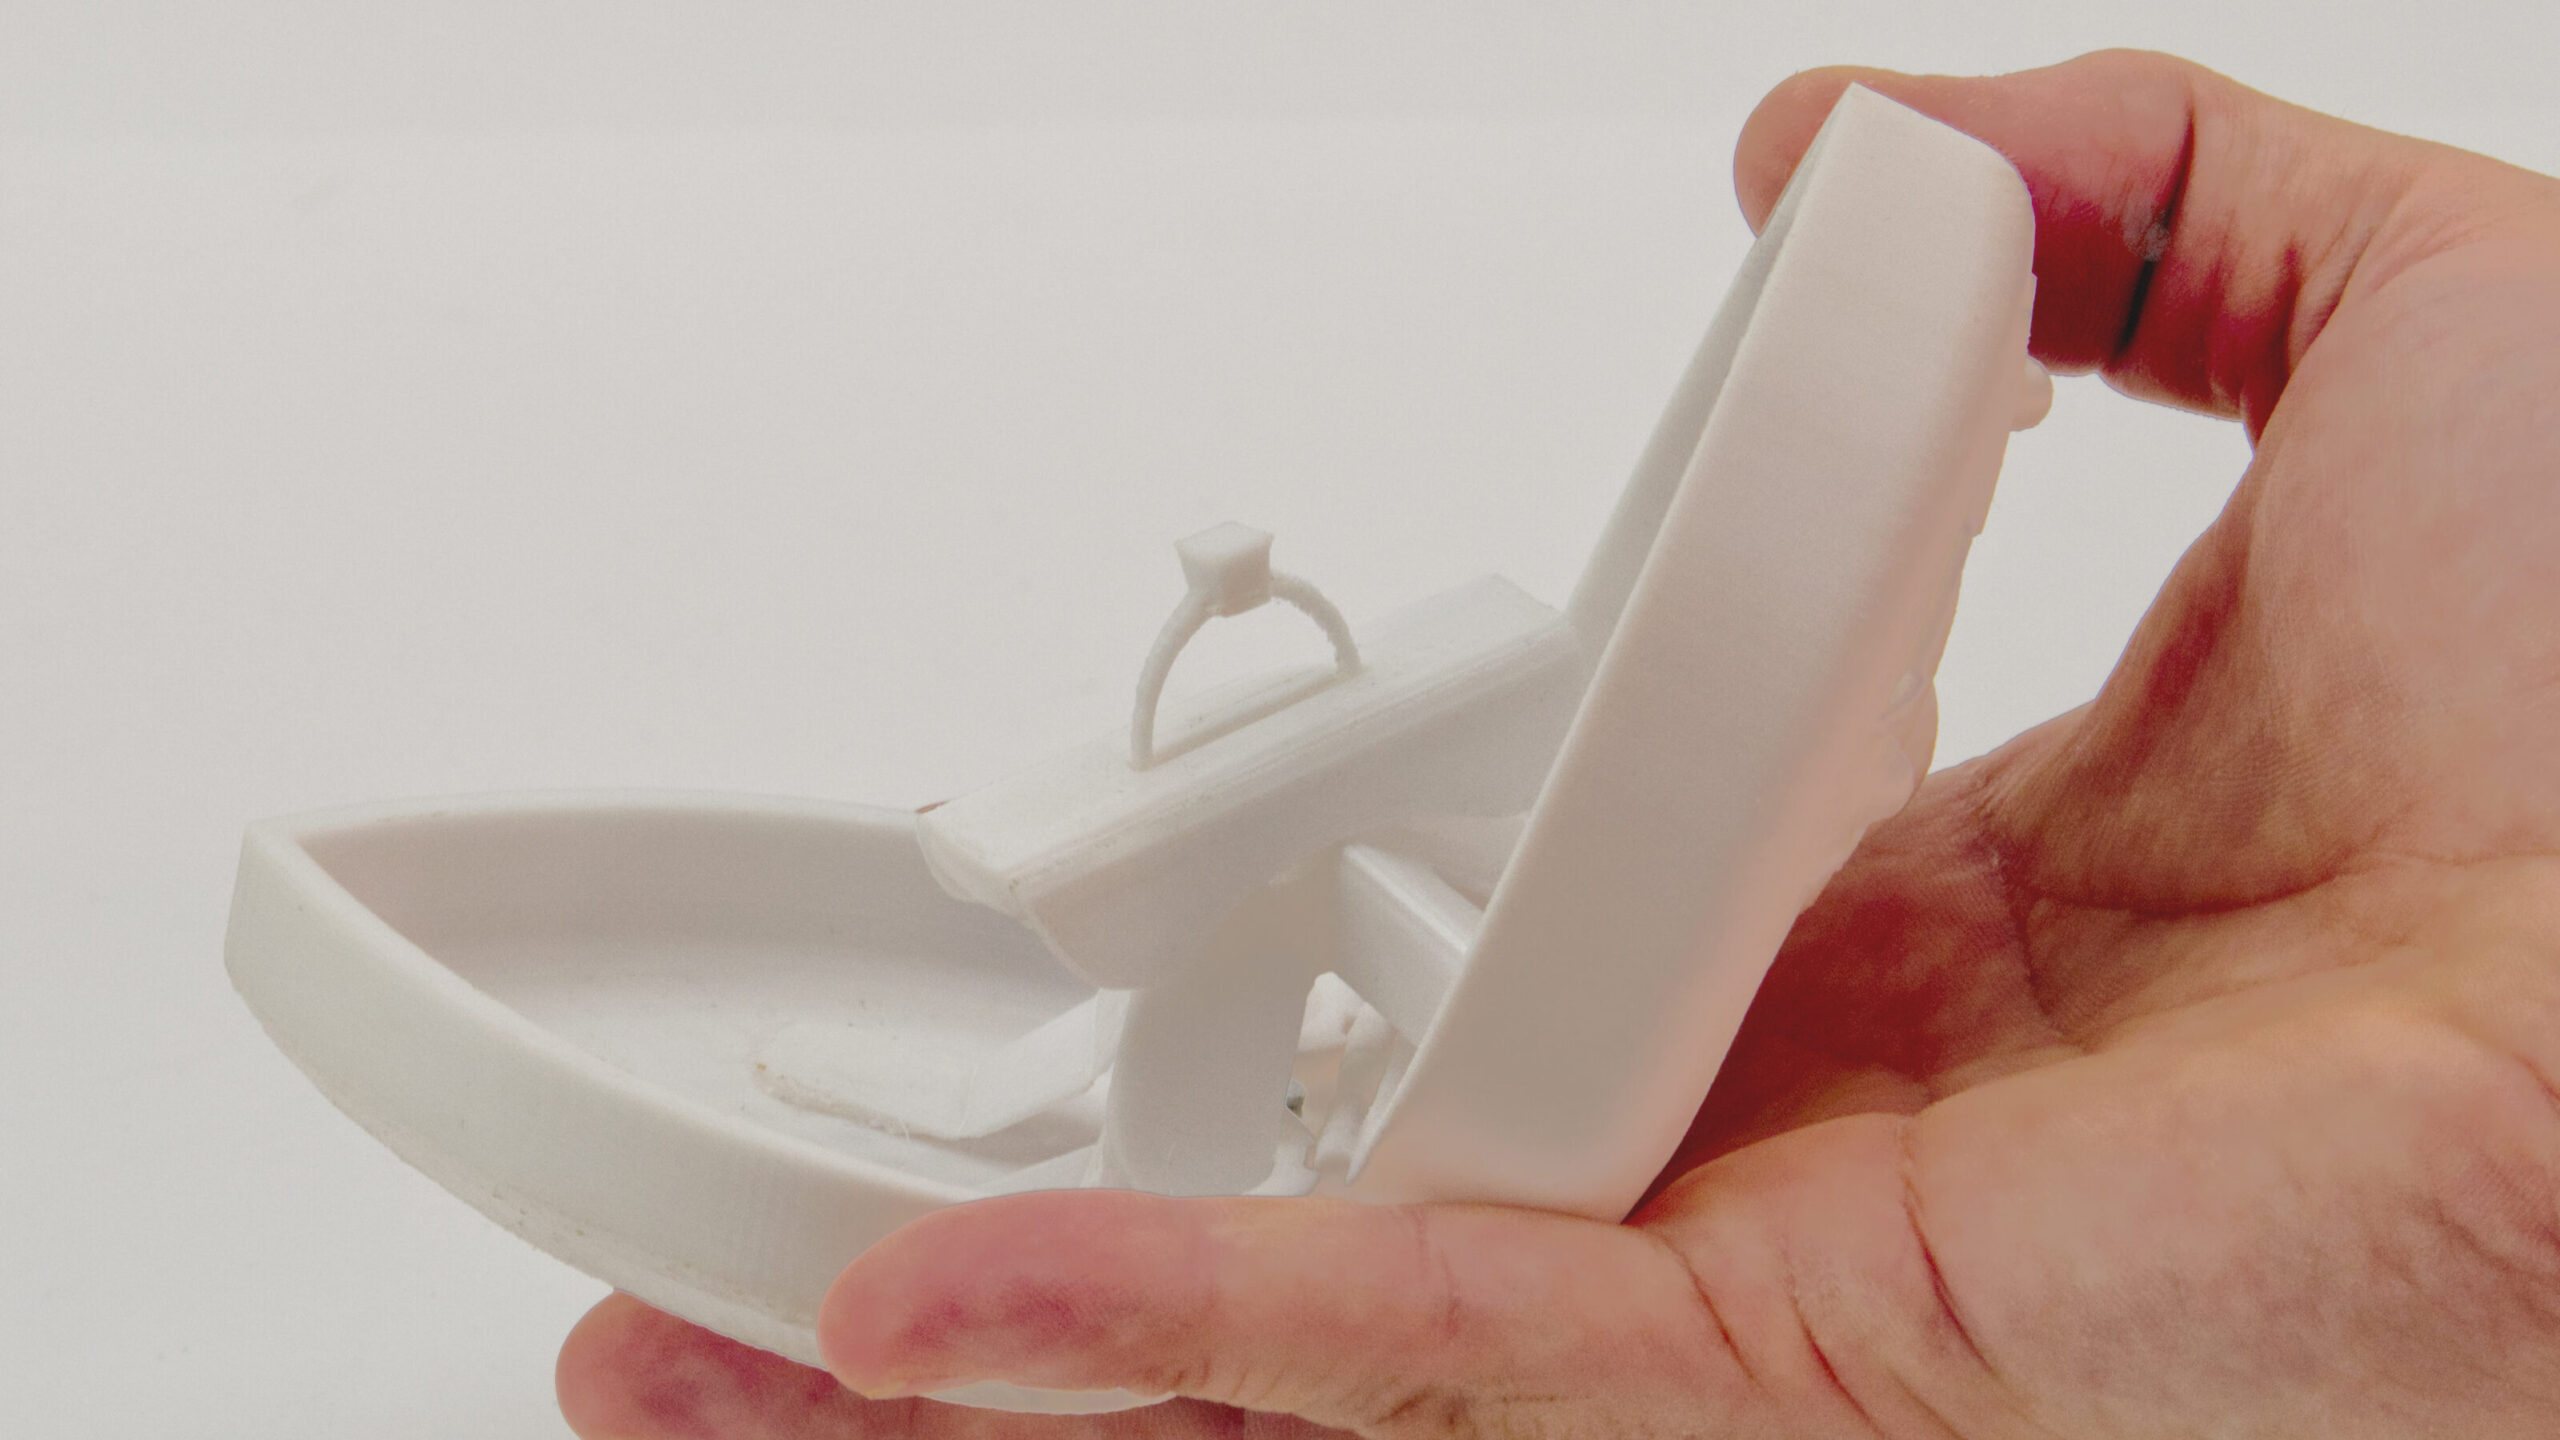
To carry out this project, I combined two different techniques: origami and 3D printing. I used origami to design the interior parts of the box, creating a lightweight mechanism that would delicately and simply showcase the ring. This mechanism consists of a series of interlocking pieces that allow the box to open and close with a single twist. Meanwhile, 3D printing was essential to replicate the exterior heart-shaped design, adorned with Sailor Moon symbols.
To make the origami, I followed detailed instructions from a book found on the internet, which explained how to make a rotating ring holder. After several attempts and trials, I managed to find the exact proportion of material needed to manufacture the small hinges required for the origami. As for the exterior design, I completely redesigned it using a series of photos provided by my friend as reference. Subsequently, I printed all the pieces on my 3D printer.
Once the manufacturing phase was completed, I faced the challenge of assembly. From installing the intricate origami mechanism to strategically placing neodymium magnets to achieve the perfect closure of the heart, each step required precision and care. For the painting process, I collaborated with @duantria, a talented local artist specialized in this technique. Additionally, every detail of the interior was carefully decorated with fabric. Finally, before sending the project, we made sure that everything worked perfectly, with the utmost discretion, heading to its final destination.
The Final Result
The final result surprised and thrilled both my friend and his girlfriend. The box looked beautiful, with vibrant colors and intricate details from the series, and it functioned perfectly, with smooth and fluid movement. The box was a success, serving its purpose, and I am delighted to say that there was a "yes" in the end.
If you want to see how the box turned out and how it works, you can watch the videos I recorded and uploaded to my page on Cults3D. You can also download the complete project documentation (for the price of a coffee), which includes a step-by-step guide to making the origami and the mechanism, as well as the 3D Files for printing the pieces and where to place the neodymium magnets. This way, you'll be able to learn all about my development process by replicating my work, and perhaps in the future, create your own engagement ring box made with origami and 3D printing, surprising your partner with a unique and original gift!!...Or you can order it from us! 🙂
In this article, I've shared my story of how I made one of the most special commissions I've ever done, and that's why I wanted it to be the first on this blog, and how you can make one too. I hope you enjoyed it and that it inspired you to create your own projects with these two techniques. Go ahead and give it a try, and share your results with me!
And if you want to support our work, here are our stores:
 English
 Spanish